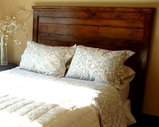
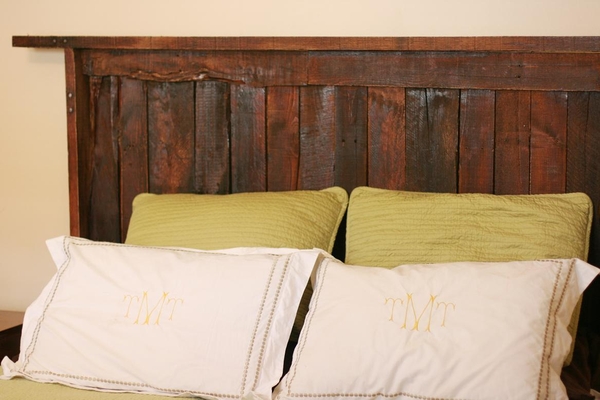
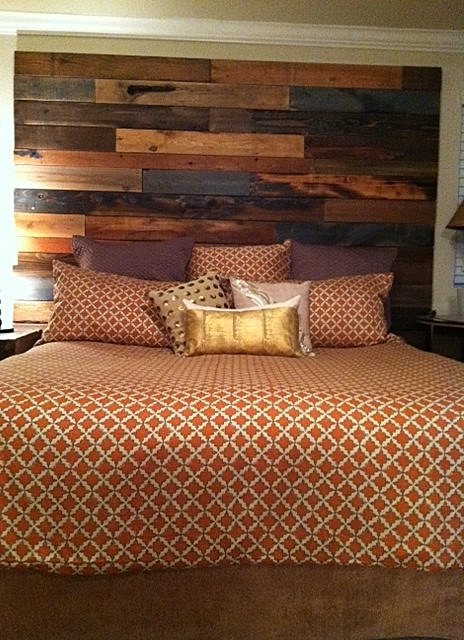
These were headboards that served as inspiration for my own efforts!!!
|
|
|
|
Step #1
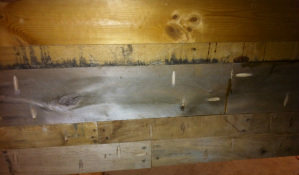
I wanted to find a way to join the board together that would not require a lot of framing, but would still create a sturdy structure and would help insure that each of the boards was pulled closely together.
I used a Kreg Pocket Hole Jig to drill holes in each of the board and 1 inch deck screws and wood glue to hold all of the boards together. It worked exceptionally well on the sample and proved to translate to the large scale headboard well.
I used a Kreg Pocket Hole Jig to drill holes in each of the board and 1 inch deck screws and wood glue to hold all of the boards together. It worked exceptionally well on the sample and proved to translate to the large scale headboard well.
Step #2
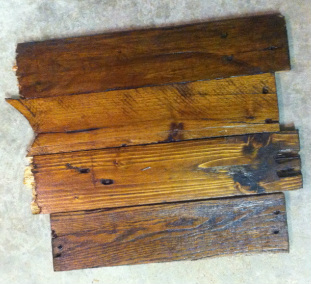
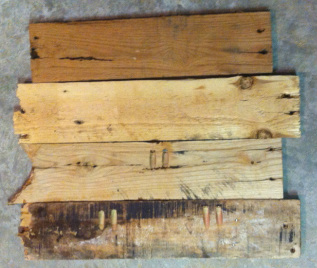
When I started this project, I had never sanded, stained, or sealed a piece of wood in my entire life. I needed to know that I was not completely inept before I tackled an entire headboard.
I sanded all of the pieces with an 80 grit sandpaper, applied a single coat of oil based stain and then applied a single coat of semigloss polyurethane. Although the finish was not exactly as smooth as I wanted it, I felt confident that I could achieve the look and feel that I wanted. I combined two different stains to get this color, not sure what they were at the moment, will get that in soon.
I sanded all of the pieces with an 80 grit sandpaper, applied a single coat of oil based stain and then applied a single coat of semigloss polyurethane. Although the finish was not exactly as smooth as I wanted it, I felt confident that I could achieve the look and feel that I wanted. I combined two different stains to get this color, not sure what they were at the moment, will get that in soon.
Step #3
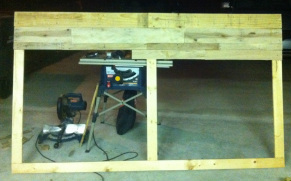
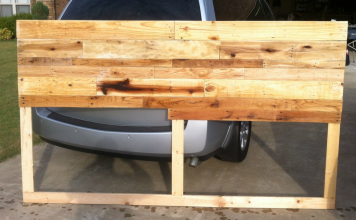
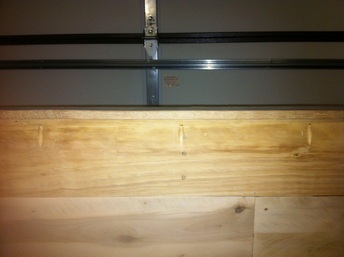
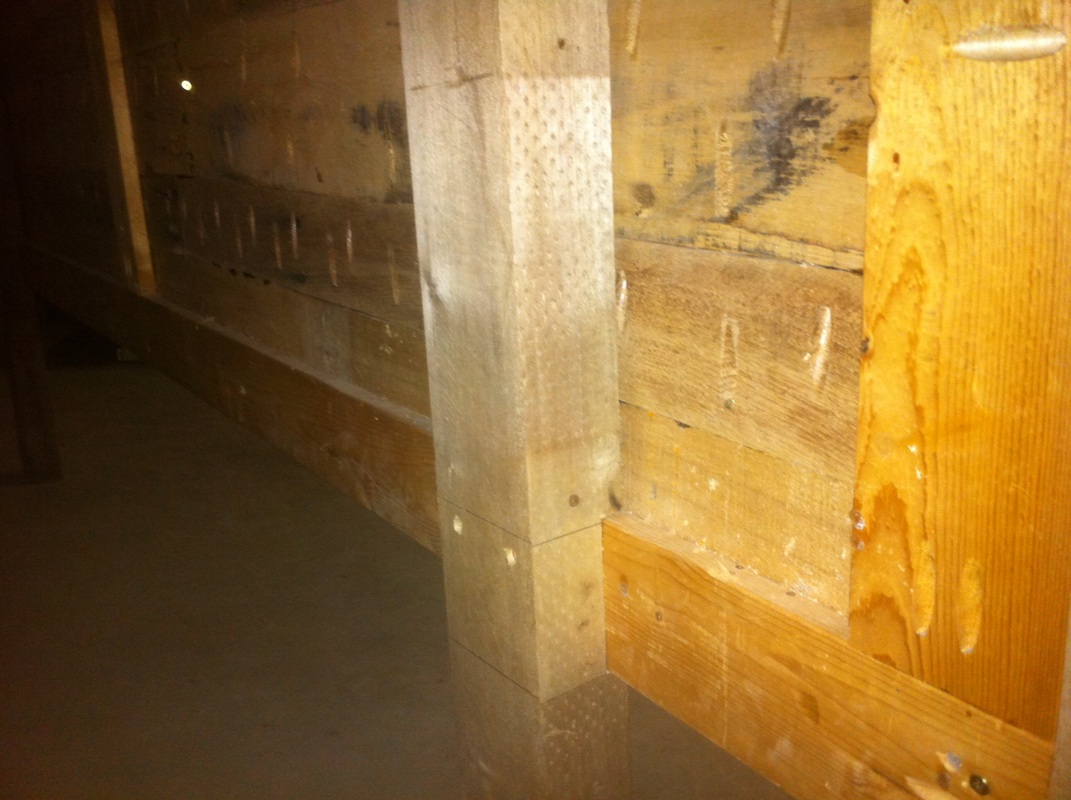
Construction of the headboard begins!!! The only part of the headboard that was not made from pallet wood was the basic frame. I used some left over 1x2 that I picked up from a construction site near my house. I knew that these pieces would be more or less true and would provide a square frame to begin to attach the pallet wood to. The demensions of the are 8 feet wide by 5 feet tall. Each of the pieces of pallet wood were sanded throughly with 80 grit sandpaper before being attached. Any piece of wood that overlapped the frame was was countersunk and screwed into the fame using 1 1/2 inch deck screws.
All of the remaining boards were attached in all directions using pocket holes, 1 inch deck screws, and wood glue.
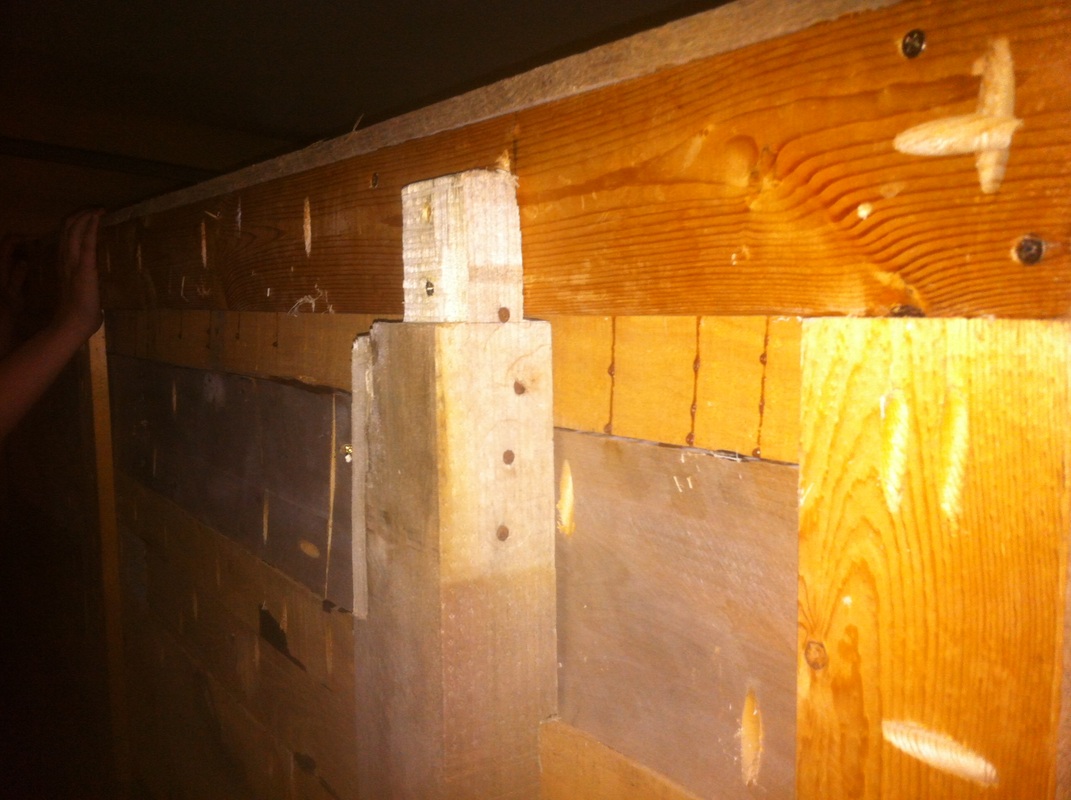
I matched board based on their width. I now wish I had used the tables saw to strip the pieces down a little bit to straighten up the edges so that pieces would fit together better. I spent hours sanding in long edges of each of the boards so that they would fit as closely as possible.
I matched board based on their width. I now wish I had used the tables saw to strip the pieces down a little bit to straighten up the edges so that pieces would fit together better. I spent hours sanding in long edges of each of the boards so that they would fit as closely as possible.
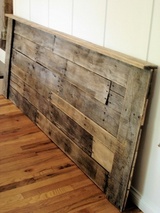
A bit more progress.
|
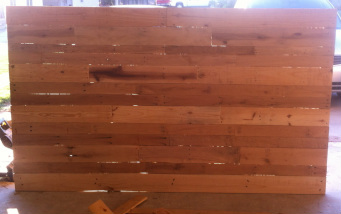
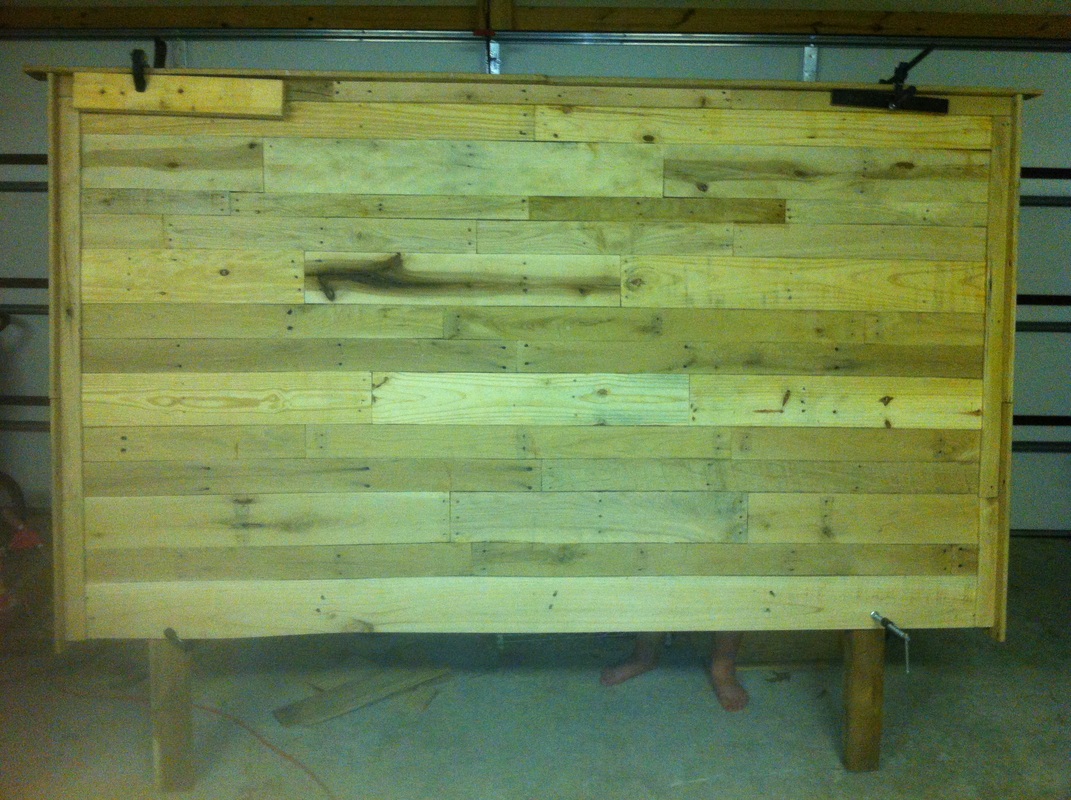
All boards attached and sanded
with an 80 grit sandpaper. |
|
|
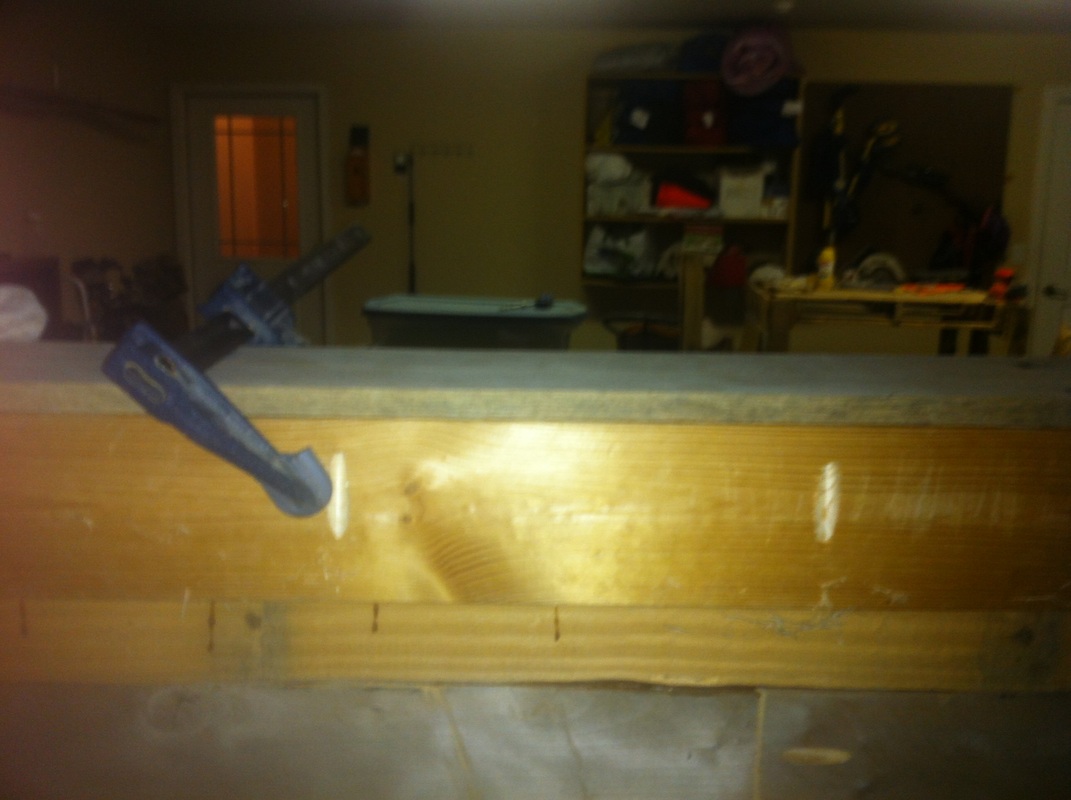
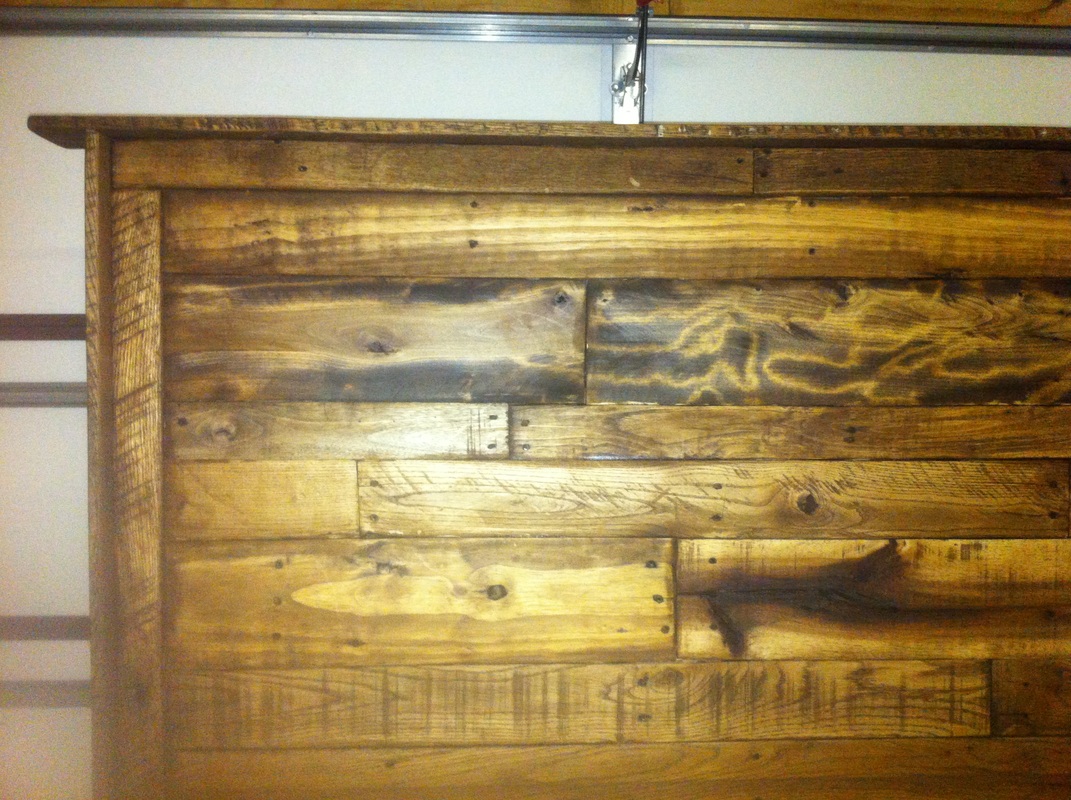
The next step was to add the frame around the headboard and the trim around the inside of the framing. This trim also covered up any areas where the cuts for the boards going across were uneven. The frame was attached to the headboard suing pocket holes on the back of the frame and on the front of the headboard with holes being drilled on the top and bottom and all the way around. This created a very sturdy hold near the for the frame. The trim pieces covered up any of the pocket hole screws on the front side of the headboard.
After all of the trim was attached to the headboard, I sanded all of the boards (not the trim) 3 more times with 100, 150, and 220 grit sand paper so that most of the wood had a super smooth finish!
After all of the trim was attached to the headboard, I sanded all of the boards (not the trim) 3 more times with 100, 150, and 220 grit sand paper so that most of the wood had a super smooth finish!
Step #5
I will explain how I stained it here when I have more time.
|
|
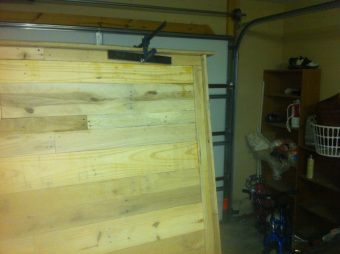
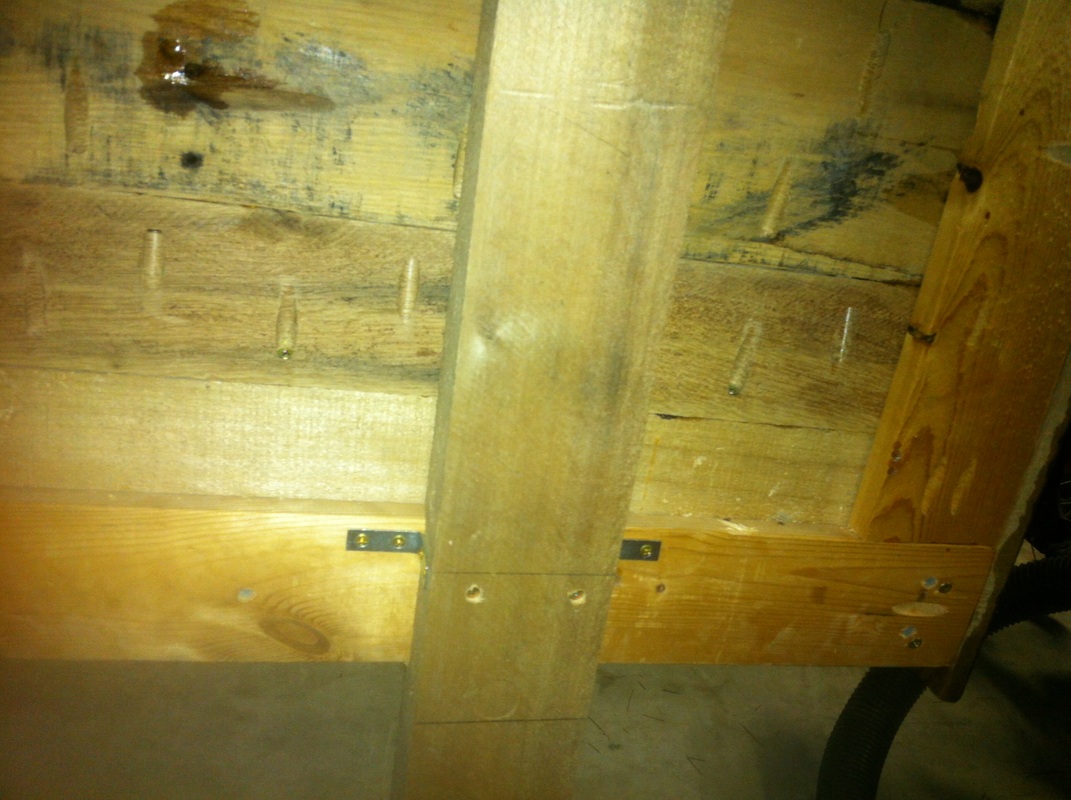
Step #6, Mount the legs
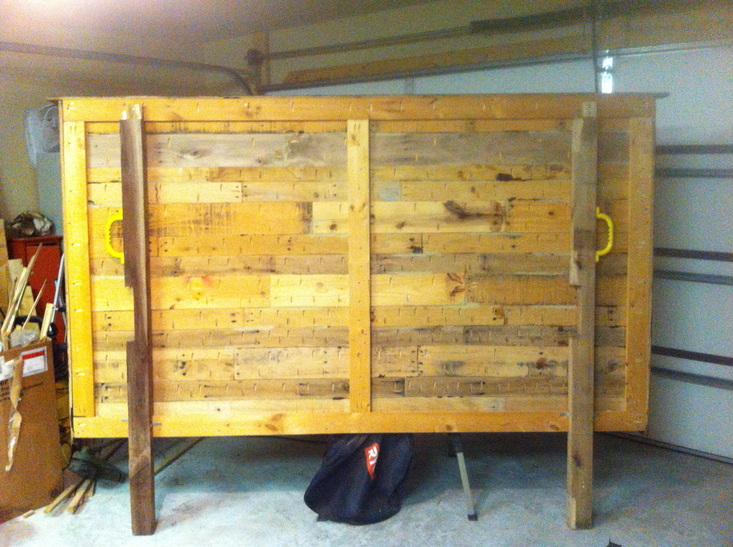
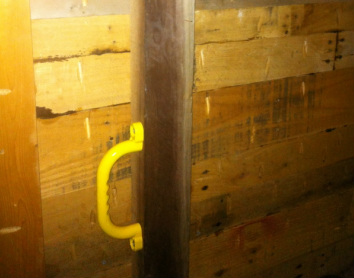
The next step in the process was to attach the legs to the headboard. I used two of the bean from on of the larger pallets that I broke down . I tried to attach the legs directly to the hardboard using long lag screws, but was unable to get it to feel secure enough for my own comfort. I decided to use "L" brackets on either side of the leg to attach them to the frame. I also use the table saw with the blade set at 5/8 inch to notch or the legs so that they would sit into the frame for added stability. The handles were left over from an old playground that was left in our backyard when we moved into our house. I also used left over hardware from the playground to attach the bed to the bed frame.
|
|
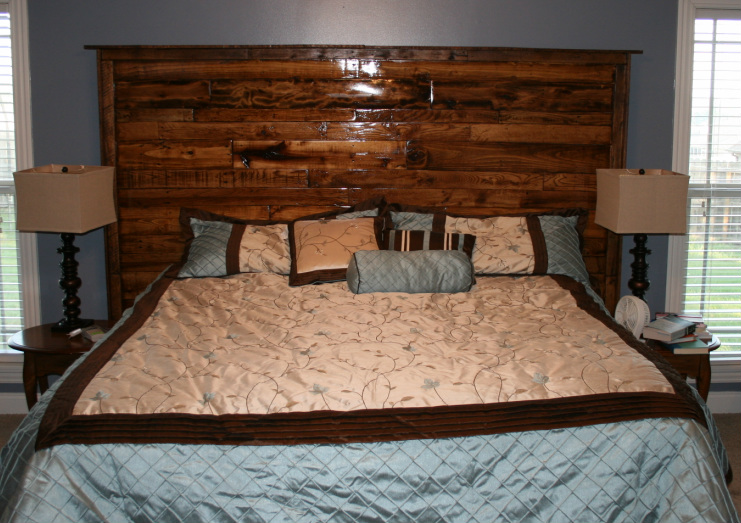
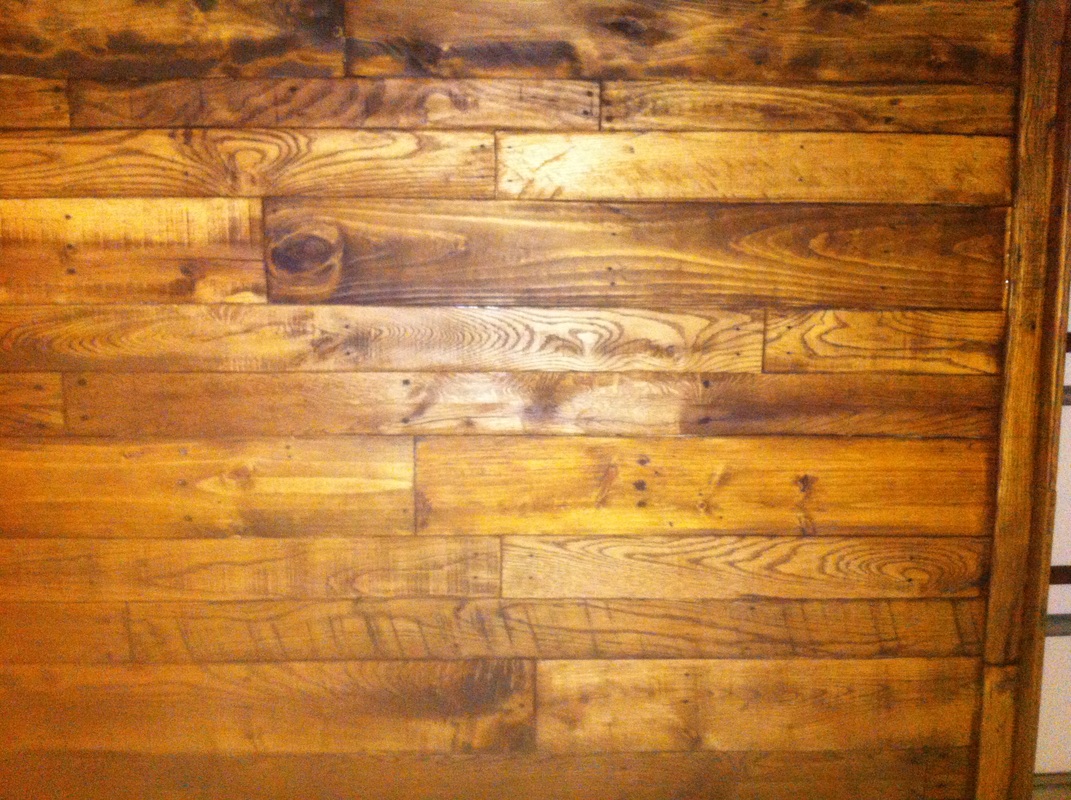
Step #7
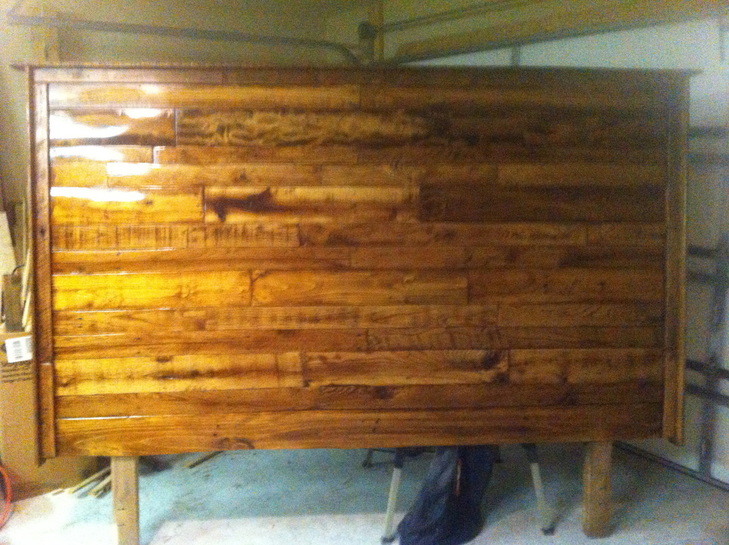
After the stain had a few days to dry, I began to apply coats of polyurethane. I only applied a single coat to the trim pieces as I wanted them to remain somewhat rough and unfinished feeling. However, I applied several coats to the main part of the head board. I followed all of the advise that I could find online to try and get a super smooth finish using the polyurethane, but never really was able to achieve what I wanted. We will be sitting up against this reading and such in the evenings and I really wanted it to be smooth. After not being happy with the smoothness of the third coat, I went online to look for advice. Although I found a few things, the one that actually work was sanding with a #0000 steel wool pad. At first, i thought that there was a fine powder coming from the steel wool. I later realized that there was a fine amount of the polyurethane was being sanded off and the heat from the friction was smoothing out the rough spots around knots. Although the finish was smooth, the finish was very dull. I ran the shop vac over the headboard, rubbed it down with a tack cloth, and then applied a final coat of polyurethane. The result was a glass like finish over the entire headboard.
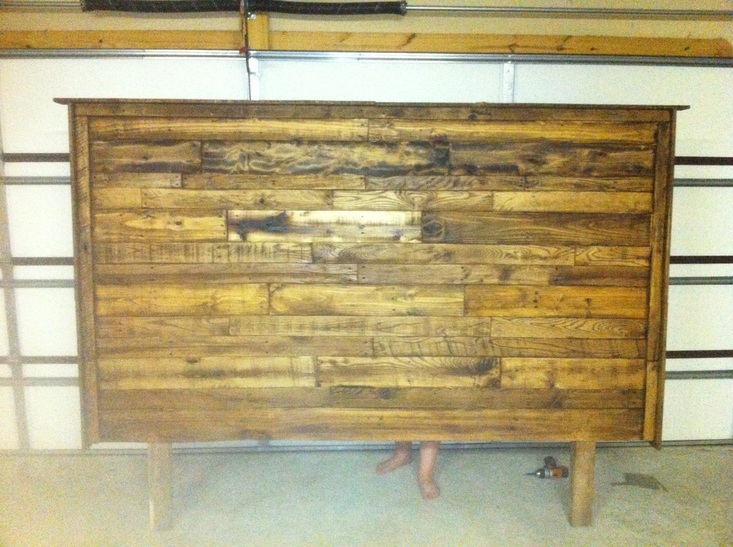
Finished Project